If you’ve ever wondered how developers test websites before making them live, the answer often lies in learning how to local host a website. Local hosting means running your website directly from your computer instead of a paid hosting service. It’s like creating a safe playground where you can design, test, and make mistakes without breaking anything on the internet.
Whether you’re a beginner or planning to become a professional, local hosting is the first practical step toward building and experimenting with websites.
Read on.
Why You Might Want to Local Host a Website?
Local hosting offers many benefits that make it a smart choice for both learners and professionals.
- Safe testing ground – You can try new designs, themes, or code without worrying about visitors seeing unfinished work.
- Cost-free practice – Since everything runs on your computer, you don’t need to purchase hosting or a domain while learning.
- Works offline – Perfect for students or freelancers who want to practice even without internet access.
- Essential for developers – For example, a person who wants to become a WordPress developer can test themes and plugins locally before pushing them online.
Step-by-Step Guide: How to Local Host a Website
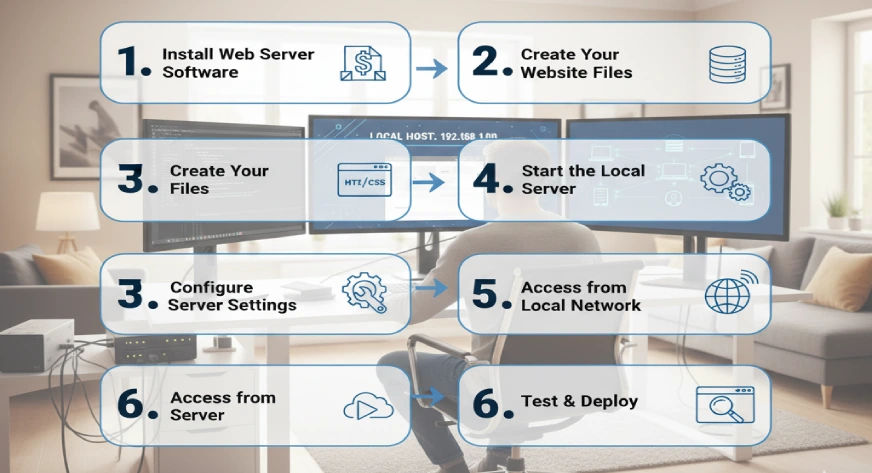
Local hosting sounds technical, but once you break it into steps, it’s surprisingly simple. Here’s a more detailed guide anyone can follow:
1. Install a Local Server
- Choose a tool like XAMPP, WAMP (Windows), or MAMP (Mac). These act like a mini server on your computer.
- After installation, open the control panel and start Apache (for websites) and MySQL (for databases).
2. Create a Project Folder
- Open the directory where the tool was installed. For example, in XAMPP you’ll find the htdocs folder.
- Inside, create a new folder with your project name. Example: C:/xampp/htdocs/portfolio2025.
3. Add Website Files
- If you’re building a static website (HTML, CSS, JS), place those files inside the folder.
- If you’re experimenting with WordPress, download it from wordpress.org, unzip, and paste the files inside the folder.
Example: Someone exploring “what is WordPress developer” can use this method to play with WordPress themes locally.
4. Start the Server and Open Your Site
- Open your browser and type: http://localhost/portfolio2025
- Your website should load instantly. If you used WordPress, it will start the installation wizard.
5. Set Up a Database (for WordPress or Dynamic Sites)
- Visit http://localhost/phpmyadmin in your browser.
- Click “Create Database,” name it (e.g., portfolio_db), and save.
- Visit http://localhost/phpmyadmin in your browser.
- Click “Create Database,” name it (e.g., portfolio_db), and save.
- During WordPress installation, enter this database name along with the username (root) and password (blank by default in XAMPP).
Testing Features and Making Changes
Once your site is running locally, the real fun begins.
- Try editing your HTML or CSS files and refresh the browser to see instant results.
- If you’re using WordPress, test themes and plugins safely.
- You can also break and fix code without fear, which is the best way to learn.
Moving from Localhost to Live Server
Building a site locally is step one, but at some point, you’ll want to show it to the world. Here’s how to shift smoothly from localhost to a live environment:
1. Choose a Hosting Service and Domain
- Buy hosting from providers like Bluehost, Hostinger, or SiteGround.
- Purchase a domain name (e.g., myportfolio.com).
2. Export Your Database
- Go to phpMyAdmin on localhost.
- Select your project’s database → click “Export.
- Save the SQL file to your computer.
3. Upload Website Files to the Server
- Use an FTP client like FileZilla or the hosting panel’s file manager.
- Upload all files from your localhost folder (htdocs/projectname) to the public_html directory on your hosting server.
4. Import the Database on Hosting
- In your hosting panel, open phpMyAdmin.
- Create a new database, then import the SQL file you exported.
5. Update Configuration Files
- Update wp-config.php (for WordPress) with the new database name, username, and password.
- For static sites, no database updates are needed.
6. Test Your Live Website
- Open your domain name in the browser.
- Check if all pages load correctly, links work, and styles display properly.
Example: A freelancer who builds client websites locally can polish everything offline, then move it online once approved, saving time and avoiding unfinished sites being visible to clients.
Final Words
Learning how to local host a website gives you complete control over your development journey. It’s a free, safe, and practical way to test designs, try out features, and understand how websites work behind the scenes. Whether you’re building your first HTML page or exploring dynamic websites like WordPress, local hosting is the best place to begin experimenting.
If you’re exploring website development and need expert support with hosting, WordPress projects, or end-to-end IT solutions, Webworks Co. can guide you. Their team helps individuals and businesses move smoothly from local testing to professional-grade live websites.